You can cancel any confirmed or pending booking directly from the booking detail panel. When you cancel, the client is notified automatically by email (and by WhatsApp if enabled), and the time slot is freed up for other bookings.
How to cancel a booking
- 1
Open the booking detail panel
Click the booking in calendar or list view. The detail panel opens on the right side of the screen. - 2
Click Cancel booking
Scroll to the bottom of the panel and click Cancel booking. A confirmation modal appears so you do not accidentally cancel.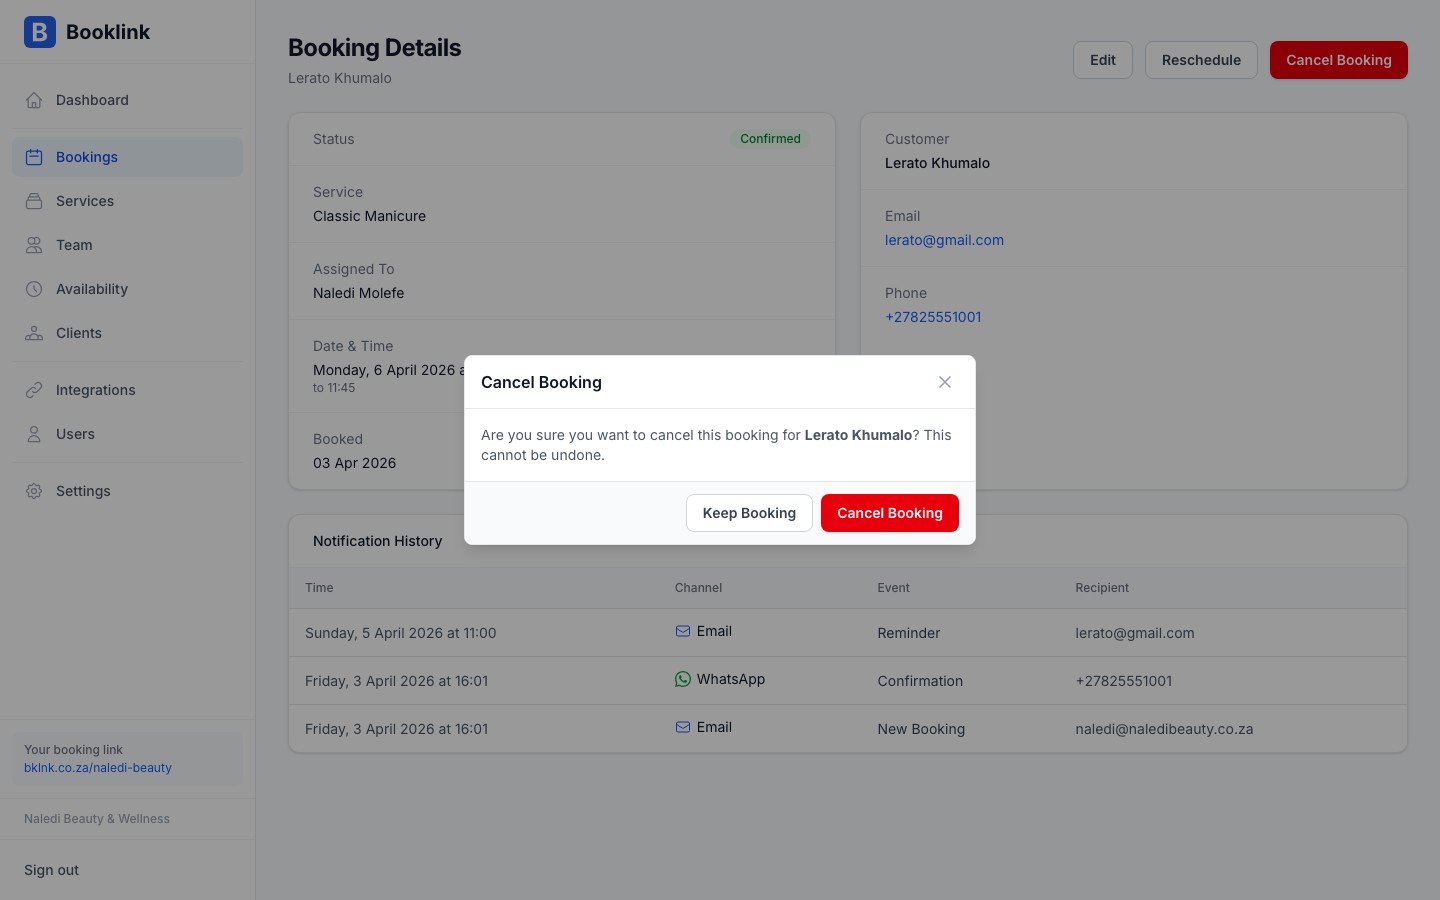
- 3
Confirm the cancellation
Review the booking details shown in the modal, then click Yes, cancel booking. The booking status changes to Cancelled and the client is notified.
What the client experiences
After cancellation the client receives a cancellation email with the appointment details. If WhatsApp notifications are enabled for your account, they also receive a WhatsApp message.
The client's self-service link (included in their original confirmation) will show the booking as cancelled if they visit it.
Cancellations cannot be undone
Once a booking is cancelled it cannot be reinstated. If the client still wants an appointment, they will need to make a new booking through your booking page, or you can create a new manual booking for them.Client-initiated cancellations
Clients can also cancel their own bookings using the manage-my-booking link in their confirmation email. When they do, the booking is marked as Cancelled and you receive a cancellation notification. These cancellations appear in your dashboard just like ones you initiate.
Rescheduling instead of cancelling
If the client wants a different time rather than a full cancellation, use the Reschedule option instead. This keeps the booking active and moves it to the new slot without needing a fresh booking.