When a client books a service, the booking starts as Pending and waits for your approval. You can confirm it manually from the booking detail panel, or you can switch on auto-confirm to have Booklink approve every new booking instantly without any action from you.
Manual confirmation
To confirm a pending booking:
- 1
Open the booking
Click the booking in calendar or list view to open the detail panel. Pending bookings are highlighted with an amber indicator.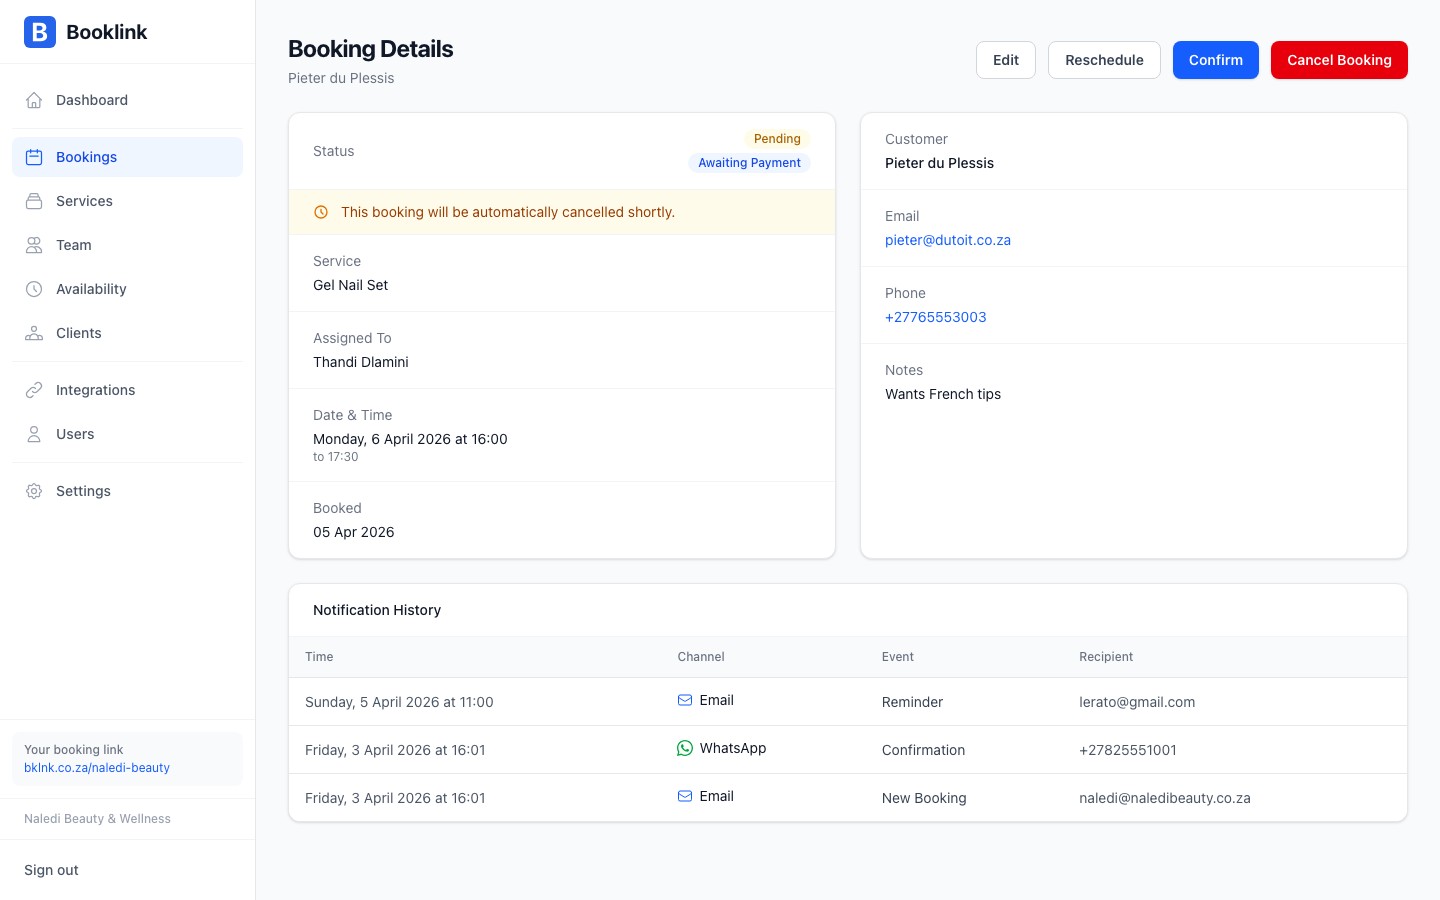
- 2
Click Confirm
At the bottom of the detail panel, click the Confirm booking button. A brief confirmation dialog appears asking you to verify the action.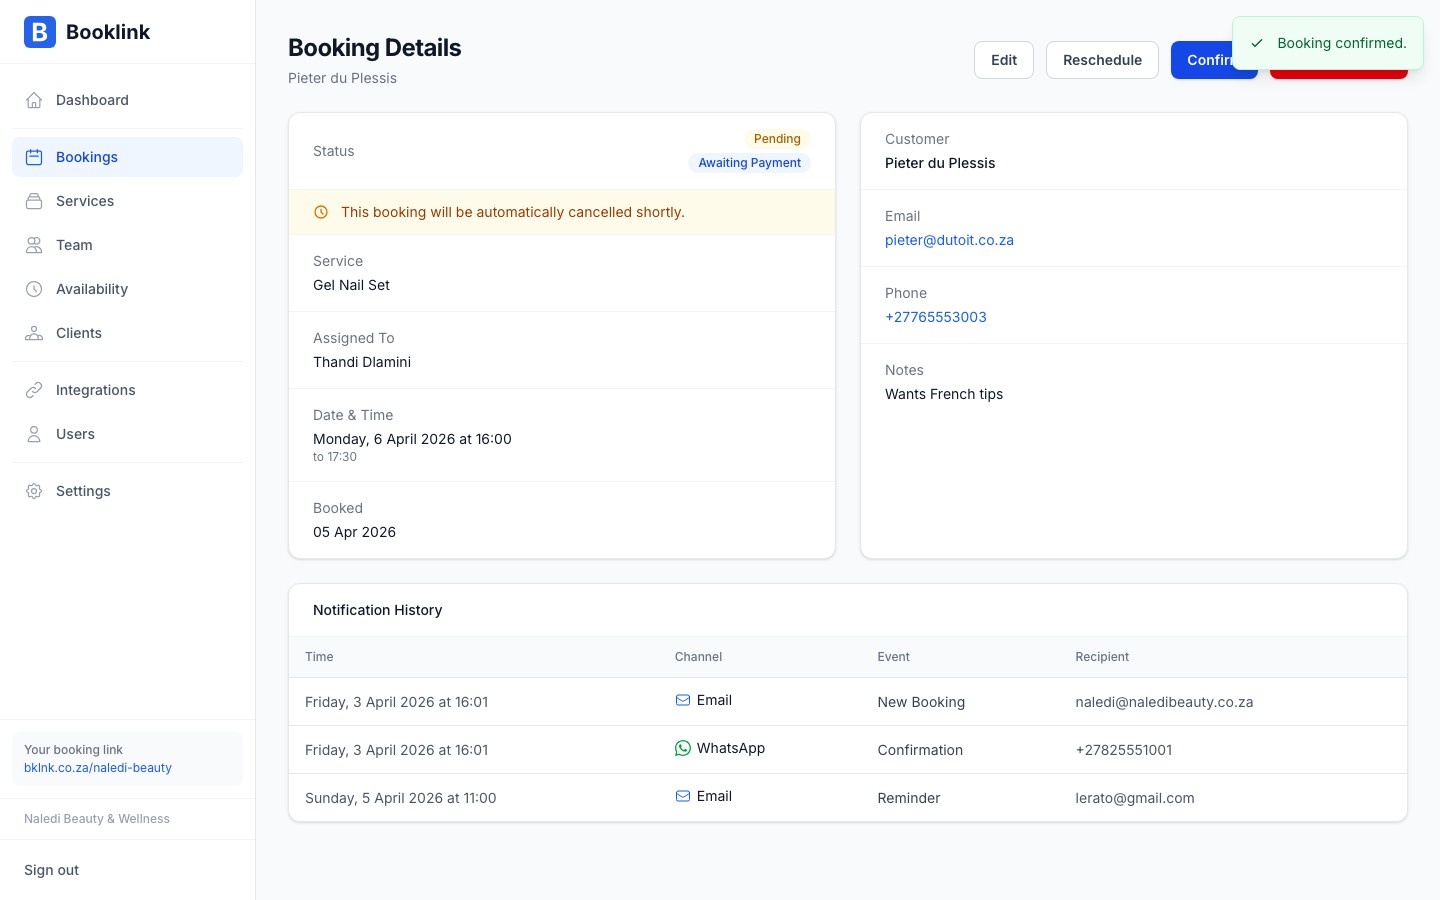
- 3
Booking is confirmed
The status changes to Confirmed. The client automatically receives a confirmation email with their appointment details and a link to manage or cancel their booking.
Auto-confirm
If you want every new booking to be confirmed without manual review, turn on Auto-confirm in Settings. When enabled, bookings move directly from the booking page to Confirmed the moment the client submits the form — no action required on your end.
To enable auto-confirm, go to Settings → Booking preferences and toggle Auto-confirm new bookings.
When to use manual confirmation
Manual confirmation is useful if you offer consultations that depend on availability checks, or if you want to vet clients before accepting. For most service providers, auto-confirm reduces friction and gets clients their confirmation email faster.Payment and confirmation
For paid services, a booking is automatically confirmed as soon as successful payment is received — regardless of whether auto-confirm is on or off. Manual confirmation is only relevant for free or "pay later" services.