Sometimes you need to add a booking yourself — a client called to book, you want to block time for a walk-in, or you are migrating existing appointments into Booklink. The New Booking wizard lets you create a booking in a few steps without the client needing to visit your public page.
Starting a new booking
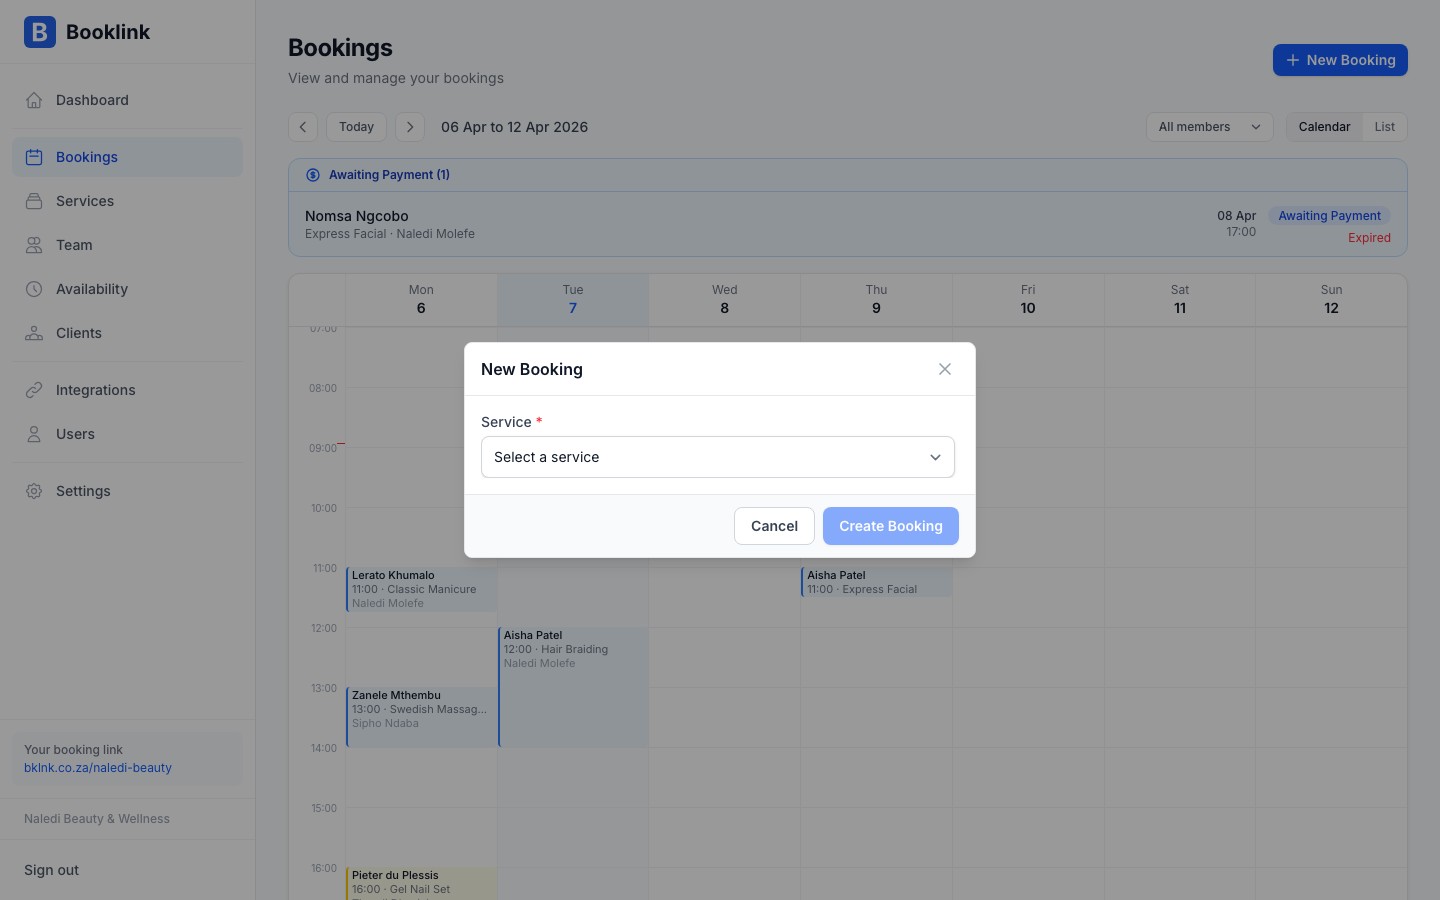
Click the + New Booking button in the top-right corner of the Bookings page. The New Booking modal opens and walks you through the process step by step.

Step 1 — Choose a service and team member
Select the service the client is booking from the dropdown list. If you have multiple team members, you will also be prompted to select which team member should handle the appointment. The available slots shown in the next step depend on the chosen team member's schedule and calendar.
Step 2 — Pick the date and time
Select the appointment date from the calendar, then choose from the available time slots shown for that day. Slots blocked by existing bookings or Google Calendar events are not shown.
Step 3 — Enter client details
Enter the client's name, email address, and phone number. You can also add an optional note (for example, "client requested afternoon light"). If the client already exists in your Clients list, start typing their name to select them and auto-fill their details.

Completing the booking
Click Create booking. The booking is created in Confirmed status immediately — manual bookings skip the pending step. A confirmation email is sent to the client's email address if provided.
Blocking time for yourself
If you need to block time in your schedule without an actual client (lunch, errands, a personal appointment), the cleanest approach is to block it in your connected Google Calendar instead. Booklink will see it as a busy slot and prevent new bookings from being made at that time.