Booklink is designed to get clients from "I want to book" to "booking confirmed" in as few steps as possible. The flow adapts based on your settings — for example, the team member step only appears if you have team visibility enabled.
Step 1 — Select a service
The client sees a list of all your active services. Each card shows the service name, a short description, the duration, and the price. They tap or click the service they want to book.

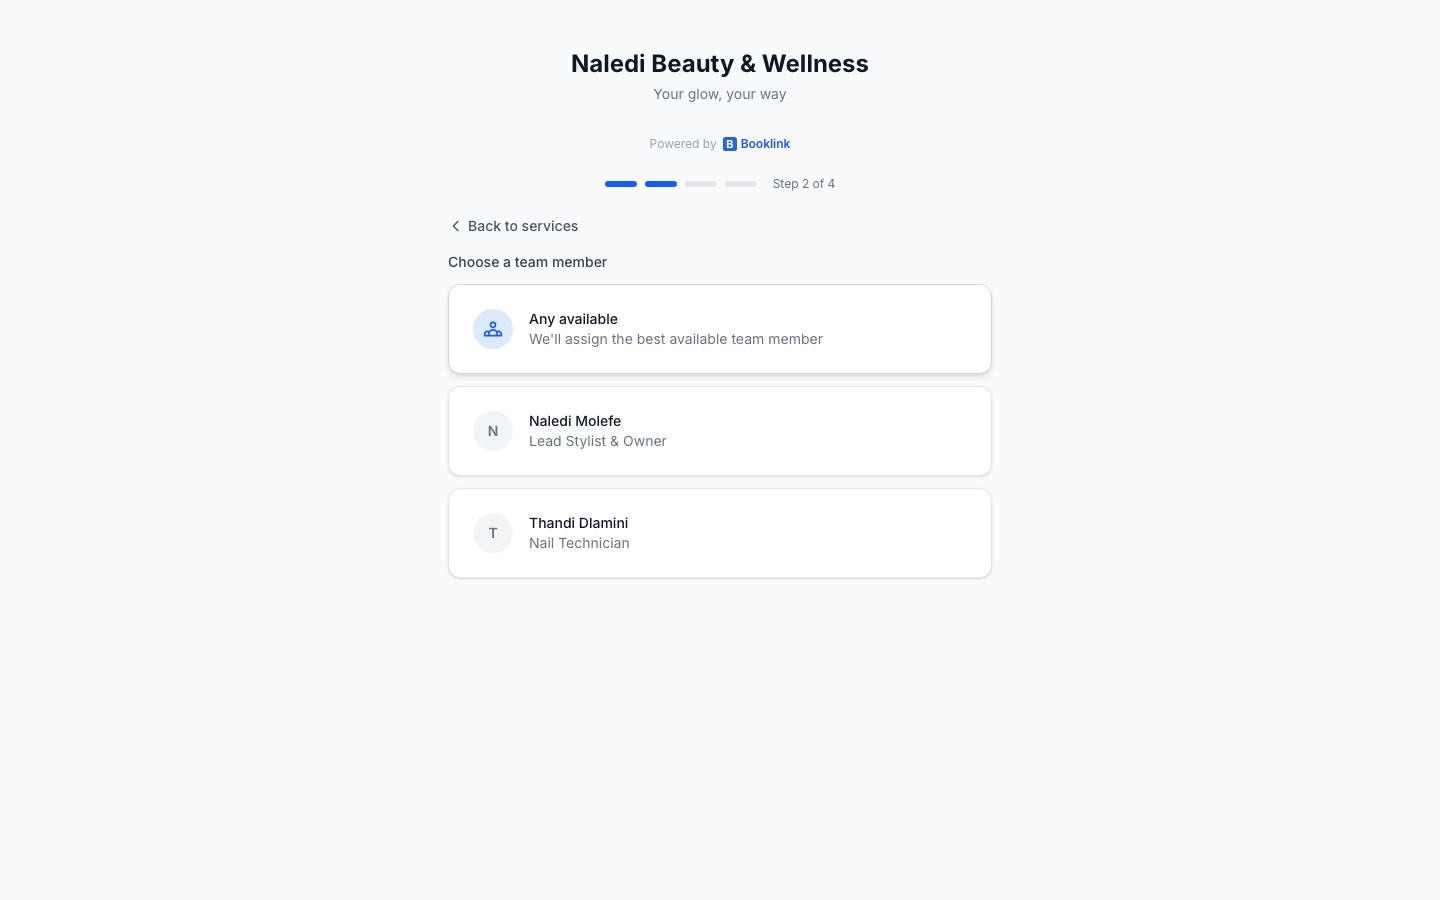
Step 2 — Select a team member (optional)
If you have team visibility enabled in Settings, clients can choose a specific team member or select "Any available" to let Booklink assign one automatically. If team visibility is hidden, this step is skipped entirely and the system assigns a team member based on your auto-assign strategy.
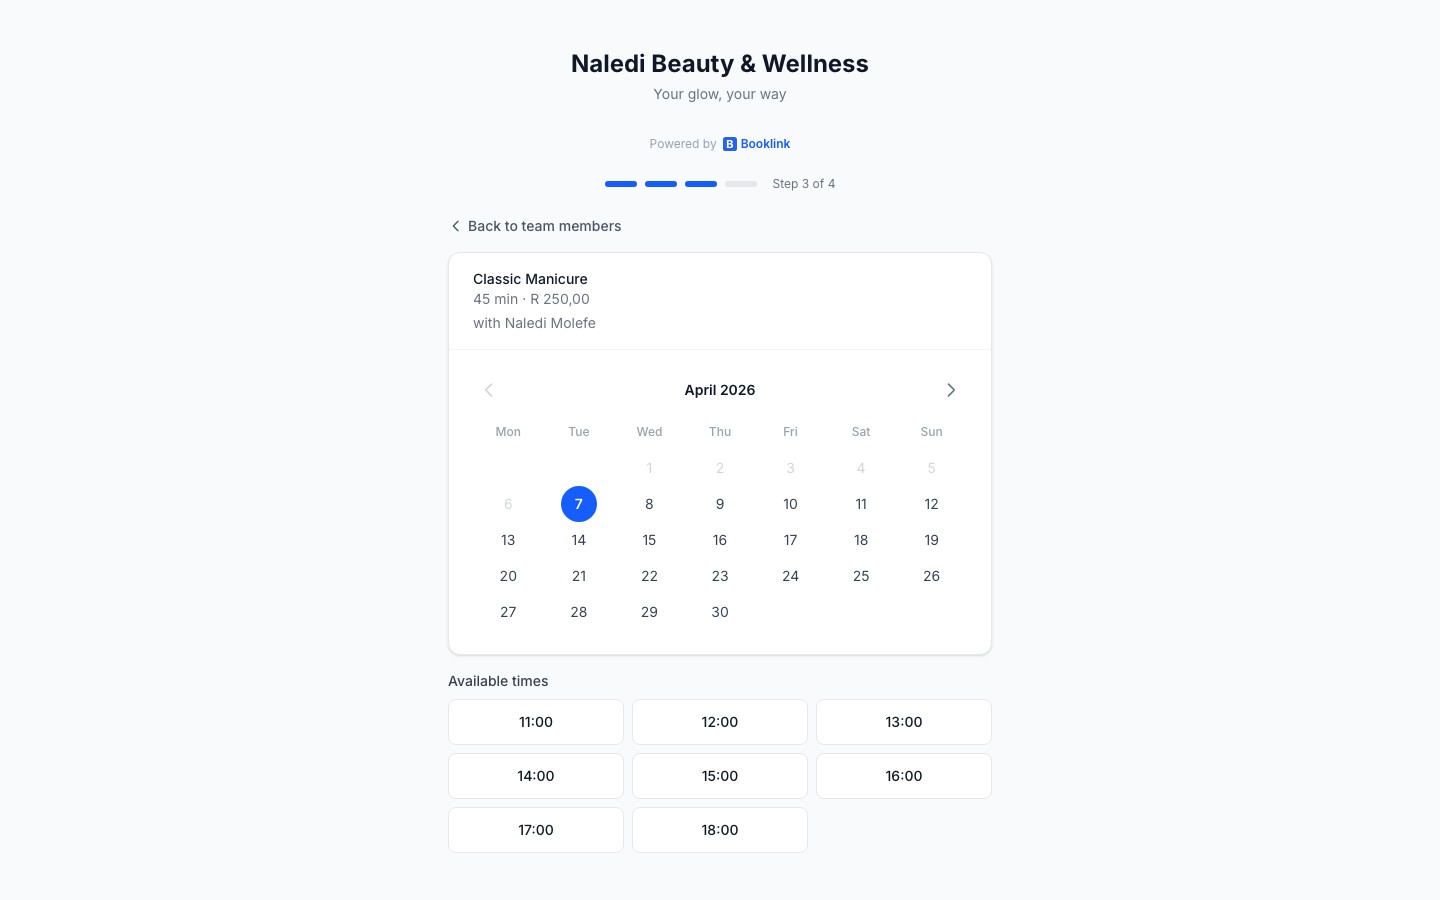
Step 3 — Pick a date
A calendar is shown with available dates highlighted. Dates in the past, dates outside your availability schedule, and dates where no slots remain are greyed out and cannot be selected.

Step 4 — Pick a time slot
Once a date is chosen, the available time slots for that day are displayed. Slots are generated from your availability schedule and filtered against existing bookings and any Google Calendar events marked as busy. The client selects the time that suits them.
Step 5 — Enter contact details
The client enters their name, email address, and phone number. There is also an optional notes field for any special requests. This information is saved to their client record in your dashboard.

Step 6 — Confirmation
After submitting the form, the client sees a confirmation screen summarising their booking: service, team member, date, time, and your business contact details. If your service requires payment, they are redirected to checkout at this point instead (see Payment checkout).
A confirmation email is sent automatically. If auto-confirm is off, the booking is pending until you approve it; the confirmation email is sent once you confirm.
