Adding a team member creates a profile for one of your service providers. Once added, you can assign services to them, set their availability, and optionally give them a login so they can manage their own schedule.
How to add a team member
- 1
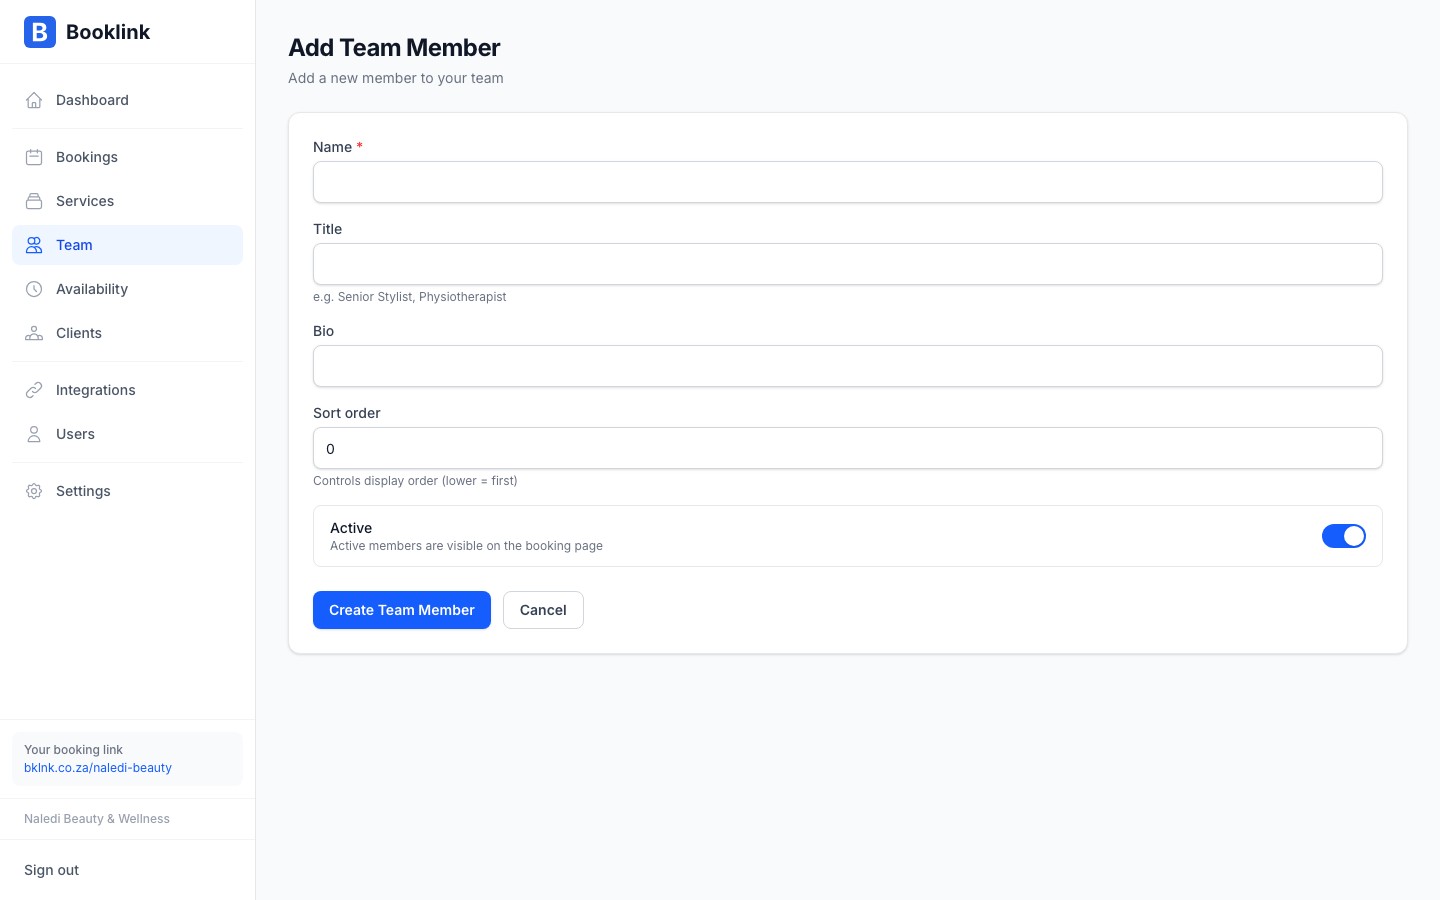
Open the Add Team Member form
Navigate to Team in the left sidebar and click Add team member in the top-right corner.
- 2
Enter their name and title
Enter the team member's display name as it will appear to clients (e.g. "Thandi Dlamini"). The title is their job role, shown below their name on the booking page (e.g. "Senior Nail Technician", "Massage Therapist").
- 3
Add a bio (optional)
The bio is a short paragraph about the team member — their experience, specialities, or a friendly introduction. Clients see this when selecting who to book with. A good bio builds trust and helps clients choose the right person.
Example: "Thandi has 6 years of experience in nail artistry and specialises in gel extensions and nail art. She is passionate about helping clients feel confident and pampered."
- 4
Set the sort order
Enter a sort order number to control where this person appears in the team list on the booking page. Lower numbers appear first. If you're unsure, use
10,20,30etc. — this leaves gaps so you can insert someone between two existing members later without renumbering everyone. - 5
Save the team member
Click Save. You'll be taken to the team member's detail page, where you can assign services and configure availability.
Note
Adding a team member does not automatically assign any services or set any availability. After saving, go to the Services tab on their profile to assign which services they offer, and then set up their weekly availability schedule.Profile photos
A profile photo makes a big difference to the client experience. Clients are more likely to choose a team member they can see. Upload a clear, professional photo on the team member's detail page.